Una de las características que no necesita presentación en Magento es su capacidad de ser multistore.
Si estuviéramos armando un módulo para mostrar contenido en el frontend de una tienda, deberíamos tener en cuenta ésta característica. (Por más obvio que suena, aún hoy siguen apareciendo módulos que no acusan recibo de esto)
Agregar ésta posibilidad a nuestro módulo es algo realmente sencillo. Para el ejemplo, vas a seguir jugando con el ya ultra modificado módulo Dc_Test.
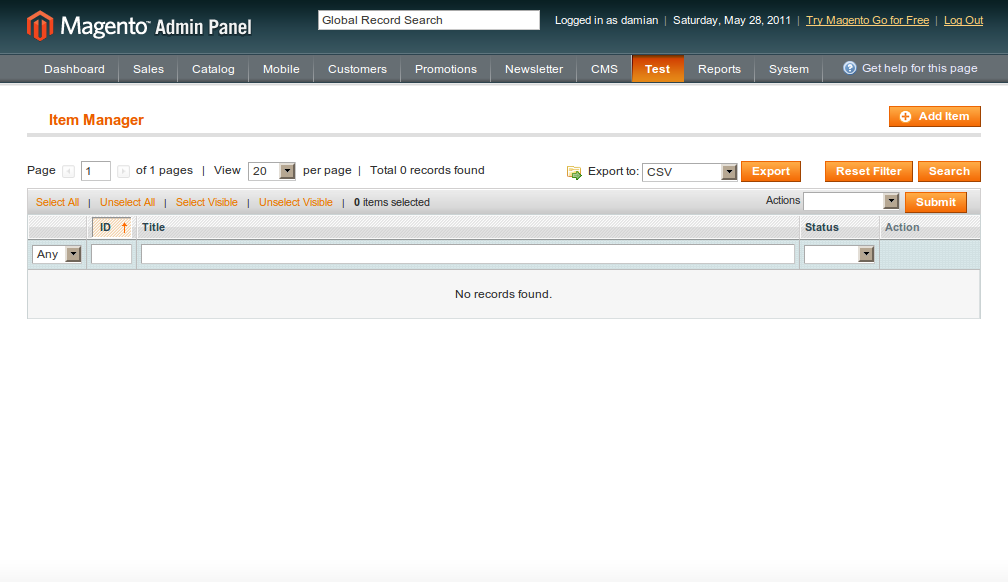
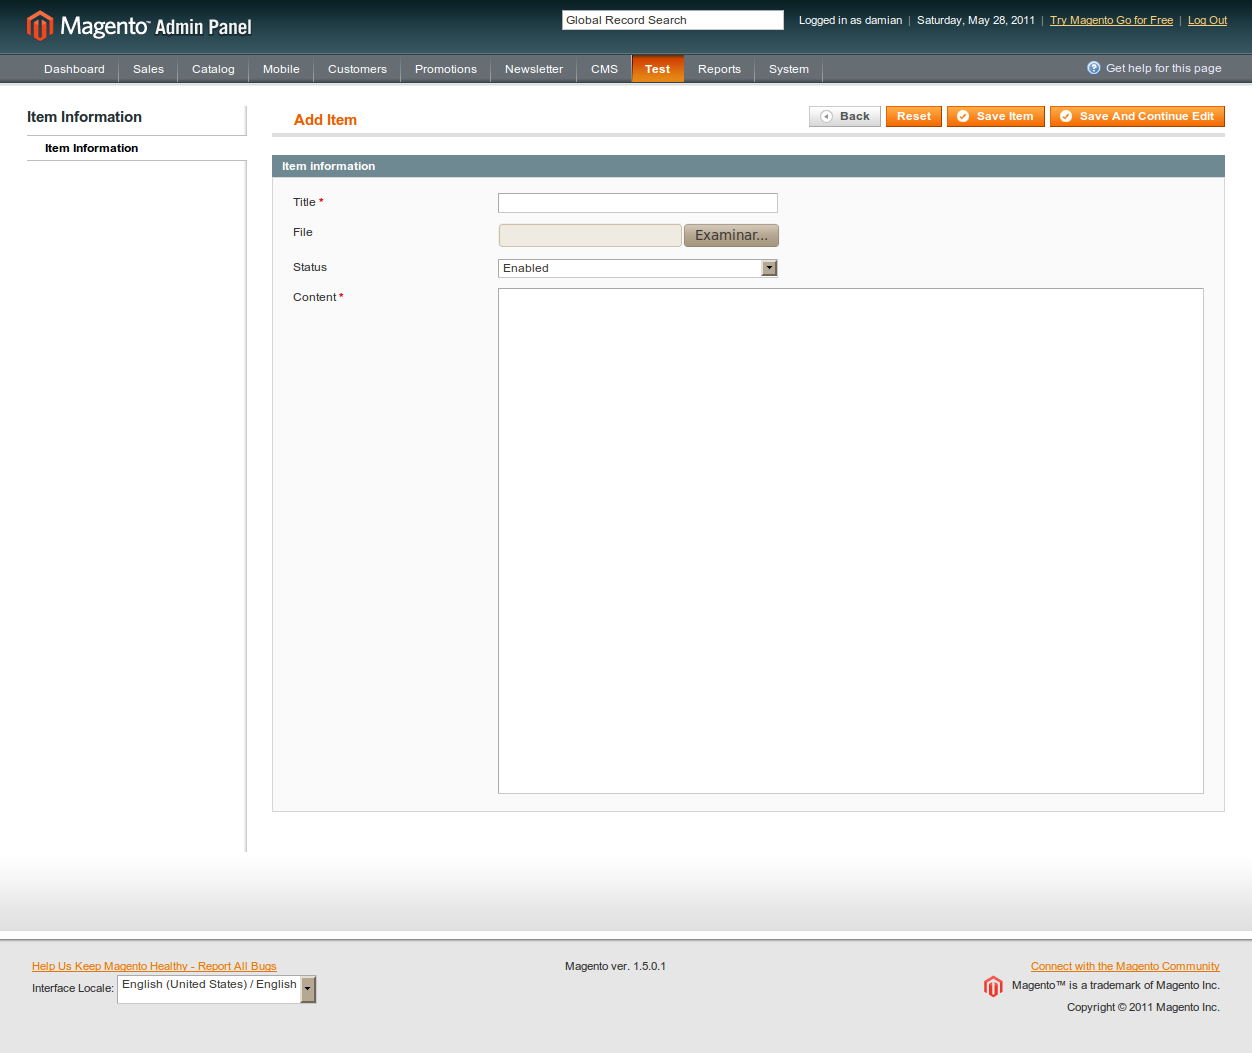
Una vez que hayamos activado el módulo (como siempre, el creador de Módulos es de gran ayuda), veríamos una grilla y un formulario como los siguientes.


Ahora lo que vamos a hacer es agregar la posibilidad de administrar nuestros registros por store view (ya sea que lo quieran usar por idioma o por tienda).
Las modificaciones las vamos a hacer en 5 archivos de nuestro módulo:
- Dc/Test/Block/Adminhtml/Test/Edit/Tab/Form.php
- Dc/Test/Block/Adminhtml/Test/Grid.php
- Dc/Test/etc/config.xml
- Dc/Test/Model/Mysql4/Test/Collection.php
- Dc/Test/Model/Mysql4/Test.php
La primera modificación la hacemos sobre Dc/Test/Block/Adminhtml/Test/Edit/Tab/Form.php y, sólo como ejemplo, luego del campo Status agregamos el siguiente código.
if (!Mage::app()->isSingleStoreMode()) {
    $fieldset->addField('store_id', 'multiselect', array(
        'name'      => 'stores[]',
        'label'     => Mage::helper('test')->__('Store View'),
        'title'     => Mage::helper('test')->__('Store View'),
        'required'  => true,
        'values'    => Mage::getSingleton('adminhtml/system_store')->getStoreValuesForForm(false, true),
    ));
} else {
    $fieldset->addField('store_id', 'hidden', array(
        'name'      => 'stores[]',
        'value'     => Mage::app()->getStore(true)->getId()
    ));
}
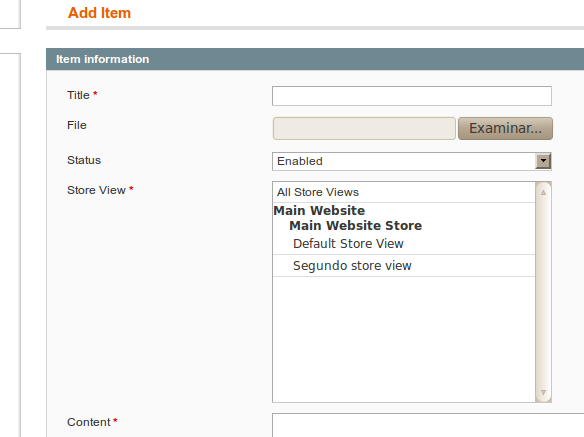
Una vez que guardemos, y siempre y cuando tengan más de un Store View creado, ya se verían los cambios en el formulario.

Ahora necesitamos modificar la grilla para que nos muestre ésta información. Editamos el archivo Dc/Test/Block/Adminhtml/Test/Grid.php y, siempre a manera de ejemplo, antes de la columna Status, agregamos:
if (!Mage::app()->isSingleStoreMode()) {
    $this->addColumn('store_id', array(
        'header'        => Mage::helper('test')->__('Store View'),
        'index'         => 'store_id',
        'type'          => 'store',
        'store_all'     => true,
        'store_view'    => true,
        'sortable'      => false,
        'filter_condition_callback' => array($this, '_filterStoreCondition'),
    ));
}
Luego agregaremos también estos dos métodos dentro de la misma clase.
protected function _afterLoadCollection() {
    $this->getCollection()->walk('afterLoad');
    parent::_afterLoadCollection();
}

protected function _filterStoreCondition($collection, $column) {
    if (!$value = $column->getFilter()->getValue()) {
        return;
    }
    $this->getCollection()->addStoreFilter($value);
}
Ahora nuestra grilla nos mostrará la información y nos permitirá filtrar por éstos valores.

Hasta acá lo más sencillo. Ahora tenemos que modificar la forma en la que se manejarán esos datos.
Lo primero, será agregar una tabla a la que, para ser ordenados, podemos llamar test_store. En nuestro script de instalación (o actualización) el sql debería verse así:
CREATE TABLE  {$this->getTable('test_store')} (
  test_id INT(11) UNSIGNED NOT NULL,
  store_id SMALLINT(5) UNSIGNED NOT NULL,
  PRIMARY KEY  (test_id,store_id),
  KEY `FK_TEST_STORE_STORE` (store_id),
  CONSTRAINT `FK_TEST_STORE_TEST` FOREIGN KEY (`test_id`) REFERENCES `test` (`test_id`) ON DELETE CASCADE ON UPDATE CASCADE,
  CONSTRAINT `FK_TEST_STORE_STORE` FOREIGN KEY (`store_id`) REFERENCES `core_store` (`store_id`) ON DELETE CASCADE ON UPDATE CASCADE
) ENGINE=InnoDB DEFAULT CHARSET=utf8;
El siguiente paso es agregar la entidad dentro de nuestros modelos. Para esto vamos a modificar el archivo Dc/Test/etc/config.xml y dentro de los Models, en las entidades, vamos a agregar:
<test_store>
    <table>test_store</table>
</test_store>
Ahora nuestra definición quedaría así.
<test_mysql4>
    <class>Dc_Test_Model_Mysql4</class>
    <entities>
        <test>
            <table>test</table>
        </test>
        <test_store>
            <table>test_store</table>
        </test_store>
    </entities>
</test_mysql4>
Tercer paso. Buscamos el archivo Dc/Test/Model/Mysql4/Test/Collection.php y vamos a agregar el método addStoreFilter.
public function addStoreFilter($store, $withAdmin = true) {
    if ($store instanceof Mage_Core_Model_Store) {
        $store = array($store->getId());
    }
    $this->getSelect()->join(
        array('store_table' => $this->getTable('test/test_store')),
        'main_table.test_id = store_table.test_id',
        array()
    )
    ->where('store_table.store_id in (?)', ($withAdmin ? array(0, $store) : $store))
    ->group('main_table.test_id');

    return $this;
}
Para finalizar, editamos Dc/Test/Model/Mysql4/Test.php. Aquí se agregaran 3 métodos que serán los que hagan la magia con los datos.
protected function _afterLoad(Mage_Core_Model_Abstract $object) {
    $select = $this->_getReadAdapter()->select()
        ->from($this->getTable('test/test_store'))
        ->where('test_id = ?', $object->getId());

    if ($data = $this->_getReadAdapter()->fetchAll($select)) {
        $storesArray = array();
        foreach ($data as $row) {
            $storesArray[] = $row['store_id'];
        }
        $object->setData('store_id', $storesArray);
    }
    return parent::_afterLoad($object);
}

protected function _afterSave(Mage_Core_Model_Abstract $object) {
    $condition = $this->_getWriteAdapter()->quoteInto('test_id = ?', $object->getId());
    $this->_getWriteAdapter()->delete($this->getTable('test/test_store'), $condition);
    foreach ((array)$object->getData('stores') as $store) {
        $storeArray = array();
        $storeArray['test_id'] = $object->getId();
        $storeArray['store_id'] = $store;
        $this->_getWriteAdapter()->insert($this->getTable('test/test_store'), $storeArray);
    }

    return parent::_afterSave($object);
}

protected function _getLoadSelect($field, $value, $object) {
    $select = parent::_getLoadSelect($field, $value, $object);
    if ($object->getStoreId()) {
        $select->join(
            array('ts' => $this->getTable('test/test_store')),
            $this->getMainTable().'.test_id = ts.test_id'
        )
        ->where('is_active=1 AND ts.store_id in (0, ?) ', $object->getStoreId())
        ->order('store_id DESC')
        ->limit(1);
    }

    return $select;
}
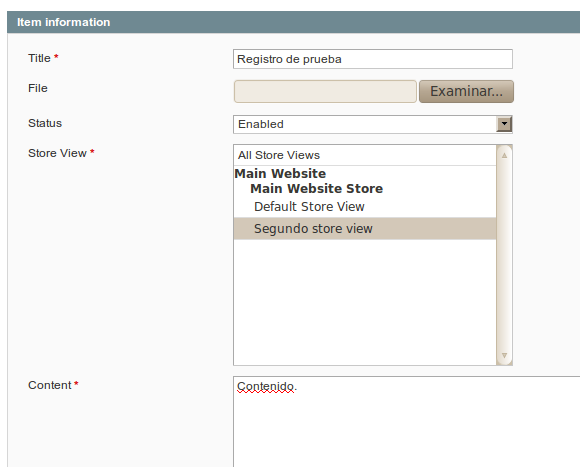
Ahora si, con todas nuestras modificaciones implementadas, volvemos al backend a probar el módulo. Deberían estar viendo algo similar a:


De esta forma, nuestro módulo ya soporta múltiples store views.
El paso final para utilizar éstos valores en el frontend es aplicar el filtro al momento de pedir la colección.
Cuando ejecutemos el getModel de éste módulo, deberíamos hacerlo de la siguiente manera.
Mage::getModel('test/test')->getCollection()->addStoreFilter(Mage::app()->getStore()->getId())->getItems();De acá en más será simplemente hacer la iteración para obtener los datos.